


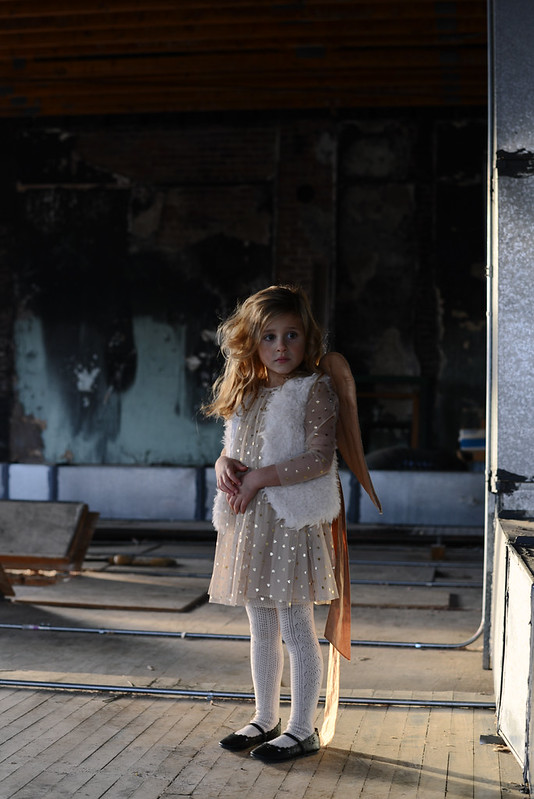
I struggled with the lighting here because it was almost dark, but I still like that it is dreamy and mystical
The last week of November is always an exciting time for us. It usually marks the beginning of Advent, we set up our tree and decorate the house for the holidays, we head into the busiest season of all for our restaurant, I begin prepping and baking our SCD and paleo cookies and I organize our Christmas card. The Christmas card is by far one of the most exciting projects that I take on. There is something so special about gathering the kids together, picking out just the right outfit (and the boys purposely adjusting it to what they feel like wearing) scouting out our location and plain old having fun. Ever since my oldest was born, eleven years ago, I have made the Christmas card a memorable event.
Over those years, I have learned a little bit about what works and what doesn't work. Yes, my camera has upgraded and I've learned a thing or two about the basics of photography, but these tips are a great way to get started, whether you're using a simple point-and-shoot, an iPhone, or a DSLR camera.
1. LIGHTING IS EVERYTHING
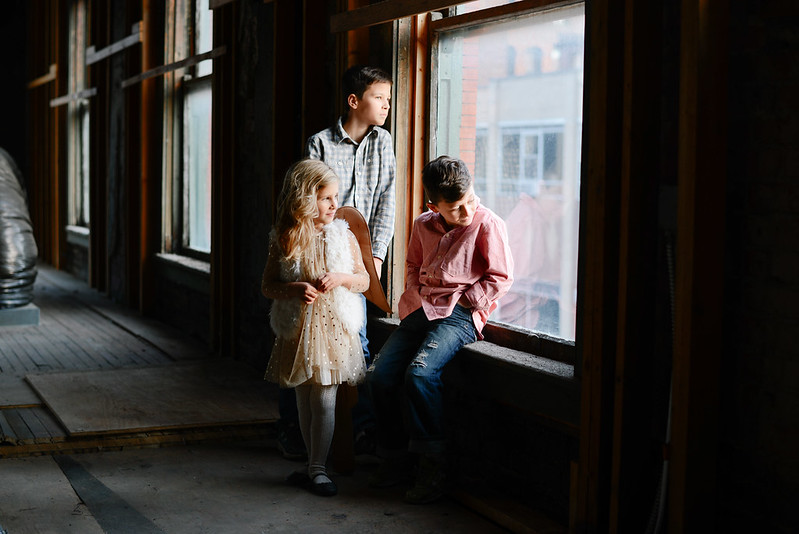
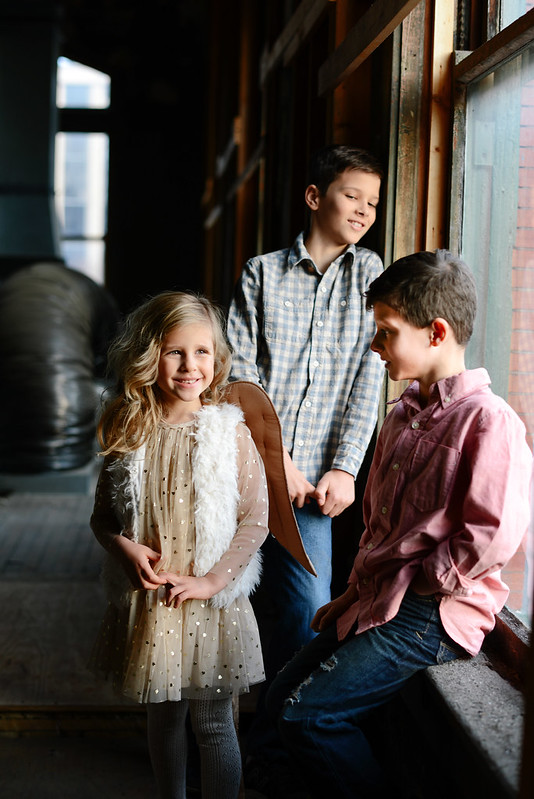
Talk to any professional photographer and they will tell you that the golden hour is the key. Basically, the time shortly after sunrise and shortly before sunset is when the sunlight is indirect and soft. Photos taken in indirect light will turn out with a natural, soft look. Yet, pictures taken during mid-day when the sun is bright and harsh will be full of shadows and high contrast. Photos should be taken outside but if you must take them inside find a spot with the most natural light. Notice how the kids stood by the window in the pictures above. You'll want them to face the light so their face is highlighted rather than in the shadows. And remember, avoid using a flash! Natural light is best.
2. THE RULE OF THIRDS
Again, this is another basic photography concept. Imagine your picture broken into thirds with lines that run horizontally and vertically thus creating nine equal boxes. The rule of thirds states that your subject shouldn't be in the center box but should fall on the lines or, preferably, a point. You can read more about the rule of thirds here. But don't forget, sometimes rules are meant to be broken. Some of the most powerful photos I have seen are placed perfectly in the middle of the grid.
3. WATCH WHAT YOU'RE WEARING
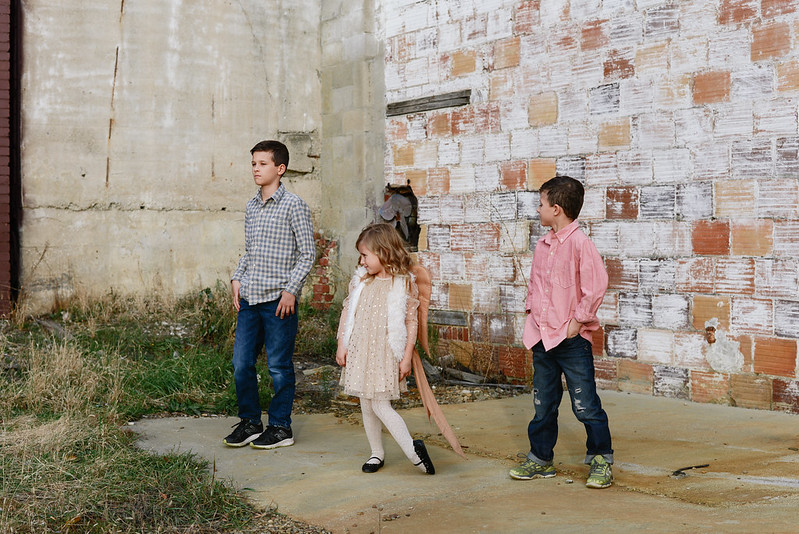
The focus of the Christmas card should be your children and family, not the outfits. However, you want to make sure you pick outfits that don't clash. I usually prefer neutral tones and hues and I let the boys dress down while I tend to dress my daughter up a bit more. Now that my boys are getting older it's hard to get them out of sports gear and sports clothes, but I can usually manage jeans and a casual button down, if I'm lucky. I'm able to sneak in some holiday flare with my daughter and I always try to get some sparkle, whether it's in the dress, shoes or an accessory.
4. GET SILLY AND HAVE FUN
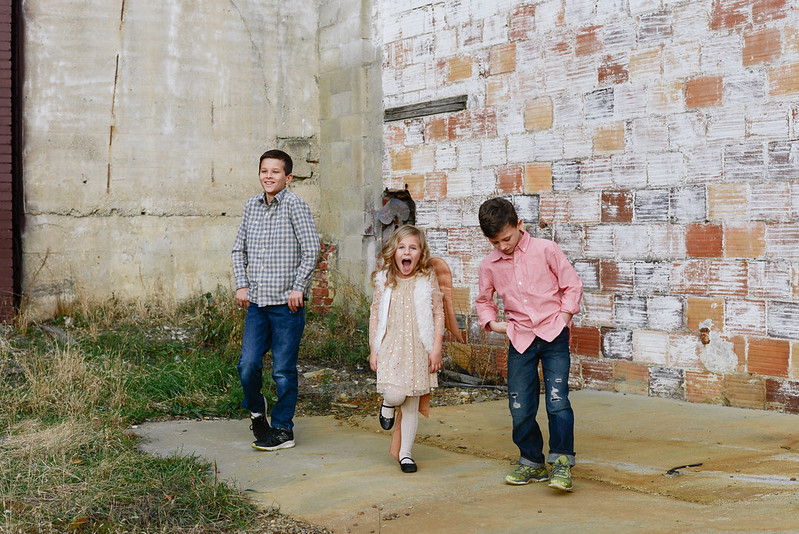
You can capture the best Christmas card photo, but what's the point if no one had fun and you didn't laugh? Part of why I take this photo every year is so I can create memories with my children. The memories are far more important than any photograph or card. When I take photos for the Christmas card I don't hold back, you can always delete later. It is better to have too many photos to select from than not enough. I also like to have a range of photos, from serious to silly. If anyone observed me taking pictures of my kids they probably would think I was crazy. In order to get them to smile naturally and laugh I act my silliest, sing and dance. And it always works! I can always make them laugh.
5. EDIT AND ORGANIZE
Once my photos are uploaded I go through and delete any that I don't want. No need to have them hanging around taking up space on my laptop. I then highlight my favorite photos and edit those. I prefer a natural look that isn't over edited or too high contrast. I use Lightroom and VSCO to edit mine, but you can easily use a free online tool like PicMonkey. I usually don't crop my photos, but if you need to just remember that you lose quality as you crop. I almost always adjust my exposure, usually brightening up the image. I also sharpen just a little bit, you don't want to sharpen too much or you will lose that natural feel. On a rare occasion I will touch up certain pictures; fix red eye, whiten teeth, smooth skin.
Last year I used a picture above for our card, but I wanted to incorporate some of the amazing photos I captured on vacation. Minted offers a variety of cards and I was able to choose a card that had an option for a collage on the back; it was the perfect way to use my creative photo as the focus and still showcase photos from our year.

*This post contains affiliate links


No comments:
Post a Comment
Thank you for leaving a comment! I love reading each and every comment and will reply to them here in this comment section. Thanks!