28 November 2016

Tips For Taking Better Christmas Card Photos

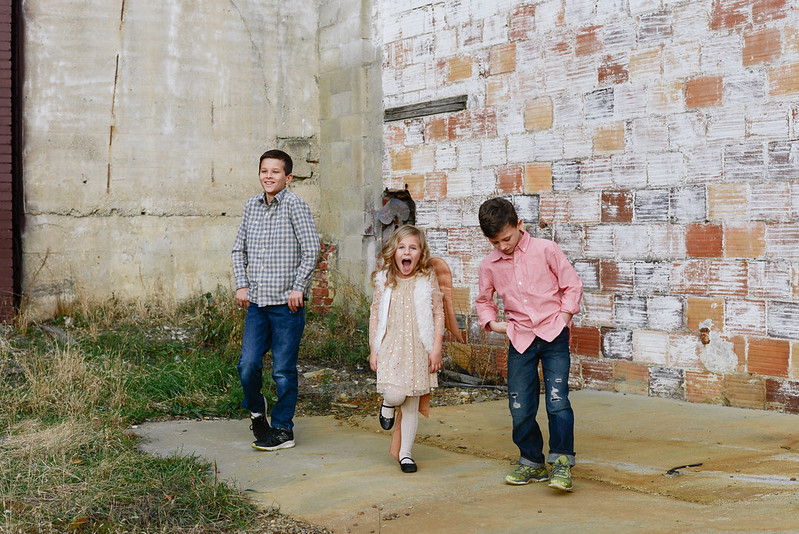
Minted 5 (1 of 1)
Minted 6 (1 of 1)
Minted 7 (1 of 1)
Minted 4 (1 of 1)
I struggled with the lighting here because it was almost dark, but I still like that it is dreamy and mystical

Minted 8 (1 of 1)
Minted1 (1 of 1)
Minted 2 (1 of 1)

The last week of November is always an exciting time for us. It usually marks the beginning of Advent, we set up our tree and decorate the house for the holidays, we head into the busiest season of all for our restaurant, I begin prepping and baking our SCD and paleo cookies and I organize our Christmas card. The Christmas card is by far one of the most exciting projects that I take on. There is something so special about gathering the kids together, picking out just the right outfit (and the boys purposely adjusting it to what they feel like wearing) scouting out our location and plain old having fun. Ever since my oldest was born, eleven years ago, I have made the Christmas card a memorable event.

Over those years, I have learned a little bit about what works and what doesn't work. Yes, my camera has upgraded and I've learned a thing or two about the basics of photography, but these tips are a great way to get started, whether you're using a simple point-and-shoot, an iPhone, or a DSLR camera.

1. LIGHTING IS EVERYTHING
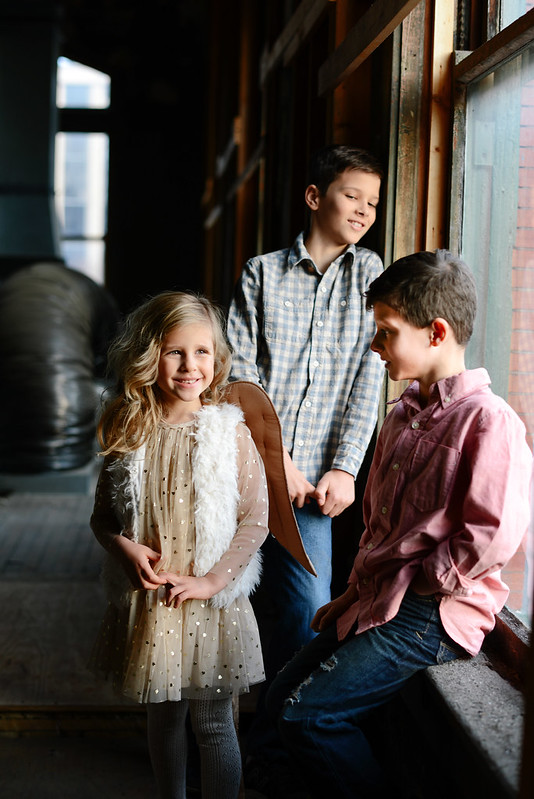
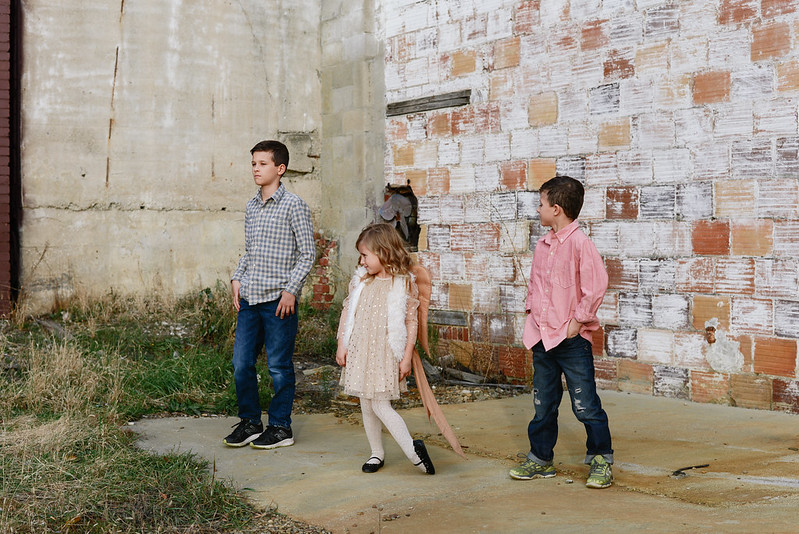
Talk to any professional photographer and they will tell you that the golden hour is the key. Basically, the time shortly after sunrise and shortly before sunset is when the sunlight is indirect and soft. Photos taken in indirect light will turn out with a natural, soft look. Yet, pictures taken during mid-day when the sun is bright and harsh will be full of shadows and high contrast. Photos should be taken outside but if you must take them inside find a spot with the most natural light. Notice how the kids stood by the window in the pictures above. You'll want them to face the light so their face is highlighted rather than in the shadows. And remember, avoid using a flash! Natural light is best.

2. THE RULE OF THIRDS
Again, this is another basic photography concept. Imagine your picture broken into thirds with lines that run horizontally and vertically thus creating nine equal boxes. The rule of thirds states that your subject shouldn't be in the center box but should fall on the lines or, preferably, a point. You can read more about the rule of thirds here. But don't forget, sometimes rules are meant to be broken. Some of the most powerful photos I have seen are placed perfectly in the middle of the grid.

3. WATCH WHAT YOU'RE WEARING
The focus of the Christmas card should be your children and family, not the outfits. However, you want to make sure you pick outfits that don't clash. I usually prefer neutral tones and hues and I let the boys dress down while I tend to dress my daughter up a bit more. Now that my boys are getting older it's hard to get them out of sports gear and sports clothes, but I can usually manage jeans and a casual button down, if I'm lucky. I'm able to sneak in some holiday flare with my daughter and I always try to get some sparkle, whether it's in the dress, shoes or an accessory.

4. GET SILLY AND HAVE FUN
You can capture the best Christmas card photo, but what's the point if no one had fun and you didn't laugh? Part of why I take this photo every year is so I can create memories with my children. The memories are far more important than any photograph or card. When I take photos for the Christmas card I don't hold back, you can always delete later. It is better to have too many photos to select from than not enough. I also like to have a range of photos, from serious to silly. If anyone observed me taking pictures of my kids they probably would think I was crazy. In order to get them to smile naturally and laugh I act my silliest, sing and dance. And it always works! I can always make them laugh.

5. EDIT AND ORGANIZE
Once my photos are uploaded I go through and delete any that I don't want. No need to have them hanging around taking up space on my laptop. I then highlight my favorite photos and edit those. I prefer a natural look that isn't over edited or too high contrast. I use Lightroom and VSCO to edit mine, but you can easily use a free online tool like PicMonkey. I usually don't crop my photos, but if you need to just remember that you lose quality as you crop. I almost always adjust my exposure, usually brightening up the image. I also sharpen just a little bit, you don't want to sharpen too much or you will lose that natural feel. On a rare occasion I will touch up certain pictures; fix red eye, whiten teeth, smooth skin.

Last year I used a picture above for our card, but I wanted to incorporate some of the amazing photos I captured on vacation. Minted offers a variety of cards and I was able to choose a card that had an option for a collage on the back; it was the perfect way to use my creative photo as the focus and still showcase photos from our year.


*This post contains affiliate links

22 November 2016

Autumn Applesauce with Warm Almond Milk & Almond Slices

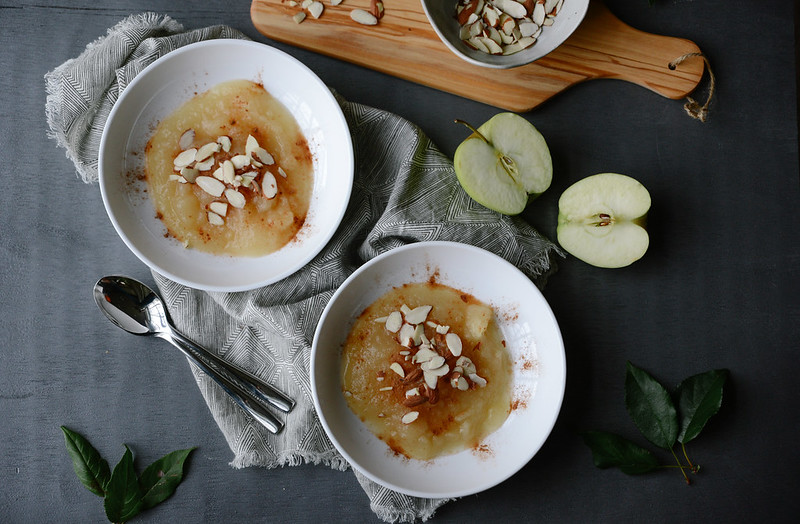
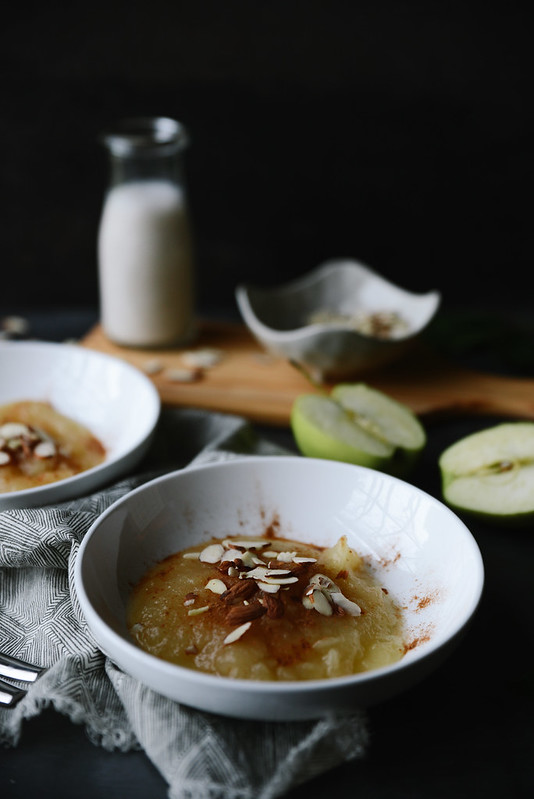
DSC_1851
DSC_1857

Now that fall has arrived my kitchen has taken on the aromas of vanilla, cinnamon and apples. One of my family’s favorite recipes is our homemade applesauce. It can be eaten plain, enjoyed with a variety of toppings and used for baking. It’s a staple item that we always have on hand! It's SCD and Paleo legal. And for those of you with little ones that have a hard time swallowing supplements, we sneak our nightly vitamins and medicine into the applesauce and it's easier to swallow. Plus, did you know apples are extremely rich in important antioxidants, flavanoids, and dietary fiber? The phytonutrients and antioxidants in apples may help reduce the risk of developing cancer, hypertension, diabetes, and heart disease.

Not only is homemade applesauce super simple to make, but you can use any variety of apples and adjust the spices to your liking. For those with a sweeter palette, you can even add in a couple tablespoons of honey.

Grab your peeler, gather your apples and get to work! This autumn applesauce will make the perfect side dish for your Thanksgiving table.

Autumn Applesauce
Yield: 6-8 servings

INGREDIENTS:
4 lbs apples, peeled, cored and cut into one inch pieces
1 cup water
½ tsp salt
2 tsp cinnamon
¼ tsp nutmeg
¼ tsp cloves

TOPPINGS:
1 cup almond milk
1 tsp. vanilla
¼ cup almond slices

INSTRUCTIONS:
1. Place all the ingredients for the applesauce into a large pot on the stove. Cook over medium heat for 20-25 minutes until apples are soft. Adjust spices as necessary.
2. While the apples cook prepare the almond milk. Combine the almond milk and vanilla in a small saucepan and whisk together. Cook until warmed, but not boiling.
3. Using an immersion blender, mix together the applesauce mixture until smooth.
4. When serving the applesauce top with 1 tablespoon (more or less if desired) almond milk and sprinkle with almonds.

**If you follow the SCD diet use homemade almond milk or omit and make sure the spices are legal

21 November 2016

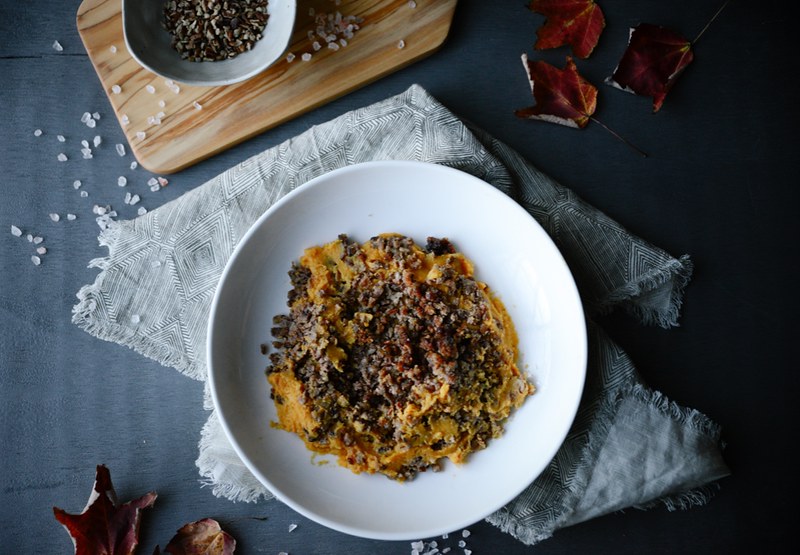
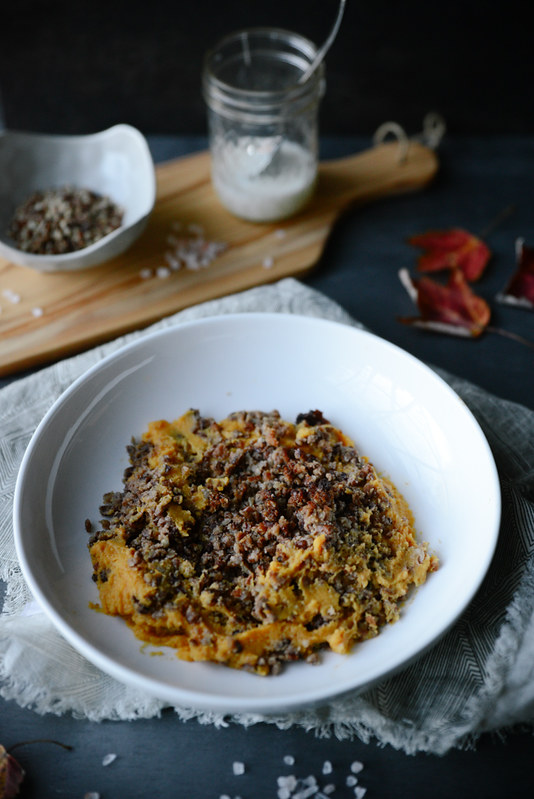
SCD + Paleo Butternut Squash Casserole With Pecans, Vanilla and Coconut Milk

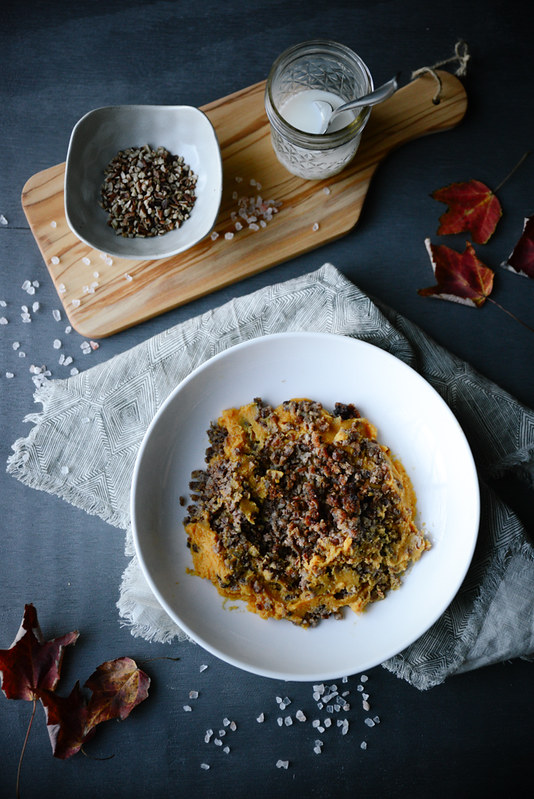
DSC_1872
DSC_1874
DSC_1879
"As we express our gratitude, we must never forget that the highest appreciation is not to utter words, but to live by them."
- John Fitzgerald Kennedy

With Thanksgiving right around the corner, I've taken some time to slow down and reflect on what I value in life and what I am thankful for. The list is quite long and reading it over makes me realize how blessed I truly am and that I should never take these blessings for granted.

It is easy to speak and utter out loud what we are thankful for, especially during a time like Thanksgiving when we are forced to reflect on these aspects. But we must remember to take it a step further. We must speak and act upon our blessings. We can say we are thankful for family, but we must show that we are thankful. Take time to reach out to family members, treat them with love and respect, do something special and out of the ordinary for them. Put their needs before your needs.

We can say we are thankful for our health, but we must act upon it. Get up and get moving; hit the gym or go for a run. Make exercise a part of your daily routine. Take a look at the foods you eat, are they healthy choices? Can you cut back on processed foods, sugar and alcohol? The holidays are a good time to re-evaluate your health and fitness and possibly even start a detox. Before you can begin to respect others, first you need to respect yourself and your body.

We can say we are thankful for our homes, but we must remember those who are less fortunate. I strive to instill gratitude and compassion in my children. When I see their love for others and animals and their desire to help those in need I feel overwhelmed with a sense of peace. I hope that my children grow to become selfless adults that are considerate of everyone; family, peers and those less fortunate.

As we prepare to head into the holiday season, remember to take time and act on what you are thankful for. These small acts will eventually accumulate over time and bring peace and joy to your mind and body.

BUTTERNUT SQUASH CASSEROLE
yield: 8-10 servings

INGREDIENTS:
3 medium butternut squash, cut in half and de-seeded
3 tbs. olive oil
1 can full fat coconut milk
2 eggs
2 tsp. cinnamon
1 tsp. vanilla
1/2 tsp. ginger
1/4 tsp. cloves
1/4 tsp. nutmeg
1/4 cup honey (you can use more if you prefer a sweeter dish)
1 tsp. Himalayan salt
pepper

TOPPING:
1/2 cup chopped pecans
1/4 cup organic butter, melted
1/4 cup honey
2 tsp. cinnamon

INSTRUCTIONS:
1. Place the butternut squash halves on cookie sheets and drizzle with olive oil. Cook at 385 degrees until soft when pierced with a fork.
2. Once the squash has cooled scoop out the insides and place in a large mixing bowl.
3. Add the coconut milk, eggs, spices and honey and mix with an electric mixer or by hand until thoroughly blended together.
4. Place the mixture in a 9 x 12 casserole dish.
5. To make the topping combine the ingredients and mix, crumble the topping over the casserole.
6. Bake in the oven at 350 degrees for 20 minutes and golden on top.

16 November 2016

Organizing with Kidecals

DSC_1625
DSC_1381
DSC_1444
DSC_1451
DSC_1459

In my past life (you know- life before kids) I was actually very organized. And always on time. But now I seem to struggle with both on a daily basis. Between chauffeuring my children all about town and stepping into the role of a personal chef for my son, I can't seem to figure out the fine balance. I was convinced I would have all the time in the world when my three kids started school this past fall, but that was a giant misconception.

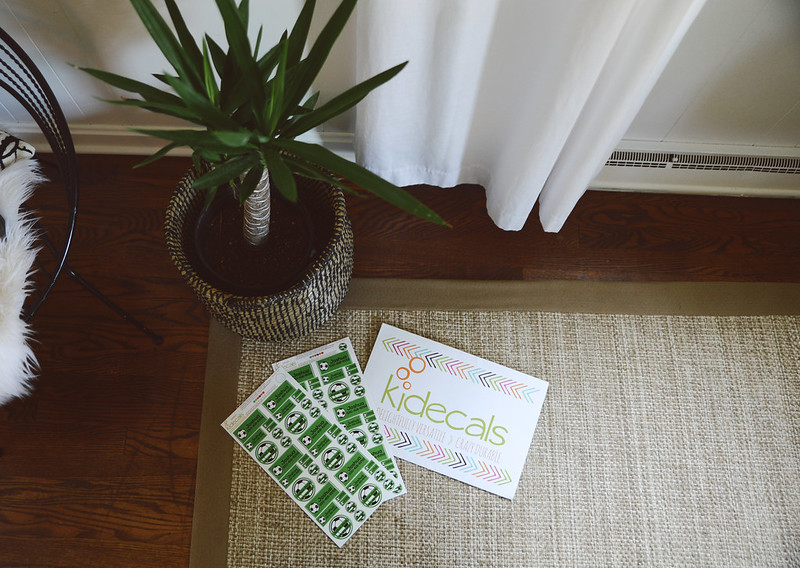
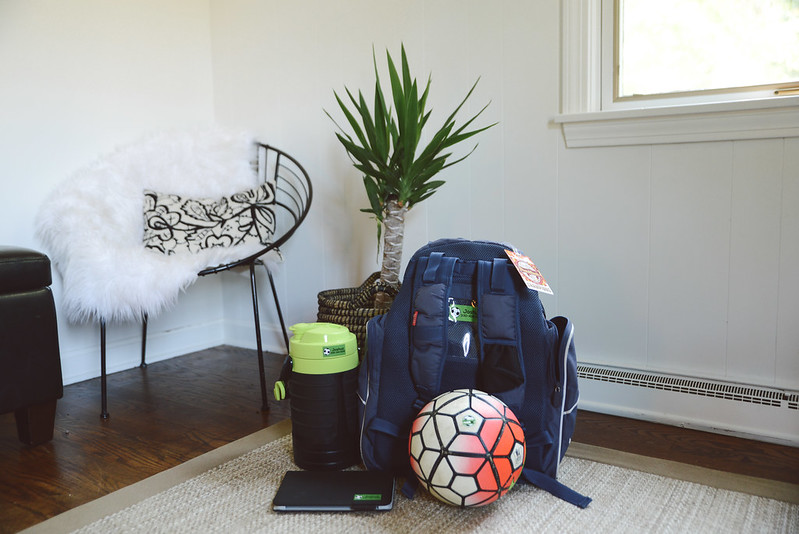
When Kidecals reached out to me about sampling their labels I knew this could be my opportunity to finally get organized. Between soccer bags, multiple uniforms, tennis rackets, ballet leotards, school binders and books, basketball shoes, golf clubs and lunch boxes we are always leaving something behind or misplacing our belongings. Labeling our items is key!

Luckily, Kidecals makes awesome labels that are practical and stylish and all of their waterproof name labels are dishwasher, washing machine, and dryer safe! And let's be honest, it's not just kids that have a tendency to lose stuff. Their thin labels are perfect for labeling car keys, cell phones (and chargers), sunglasses, and iPads; ideal for us busy moms who always seem to misplace something.

They also have: chalkboard labels (hello pantry organization), allergy alert labels (this would be great for awareness with SCD and Paleo diets), luggage tags, keyboard stickers (stocking stuffer), gift labels and canning labels.

Kidecals
is proud to be a mom founded, owned and operated company.
Yellow Finch readers can enjoy a 15% discount code, just in time for the holidays! Use code: fallsavings

This post is in partnership with Kidecals.

08 November 2016

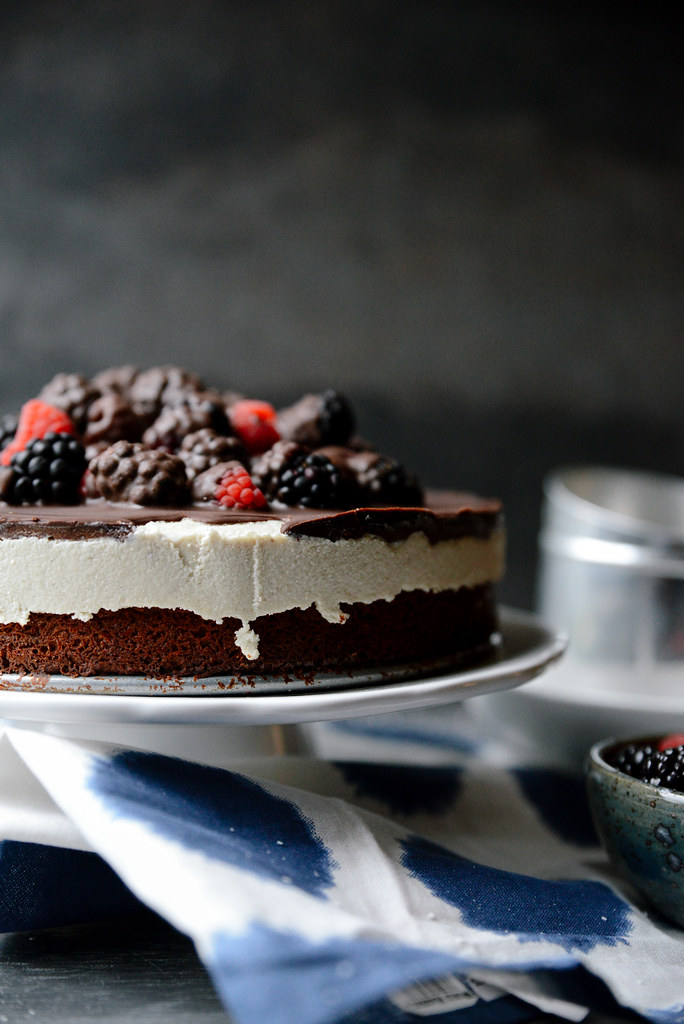
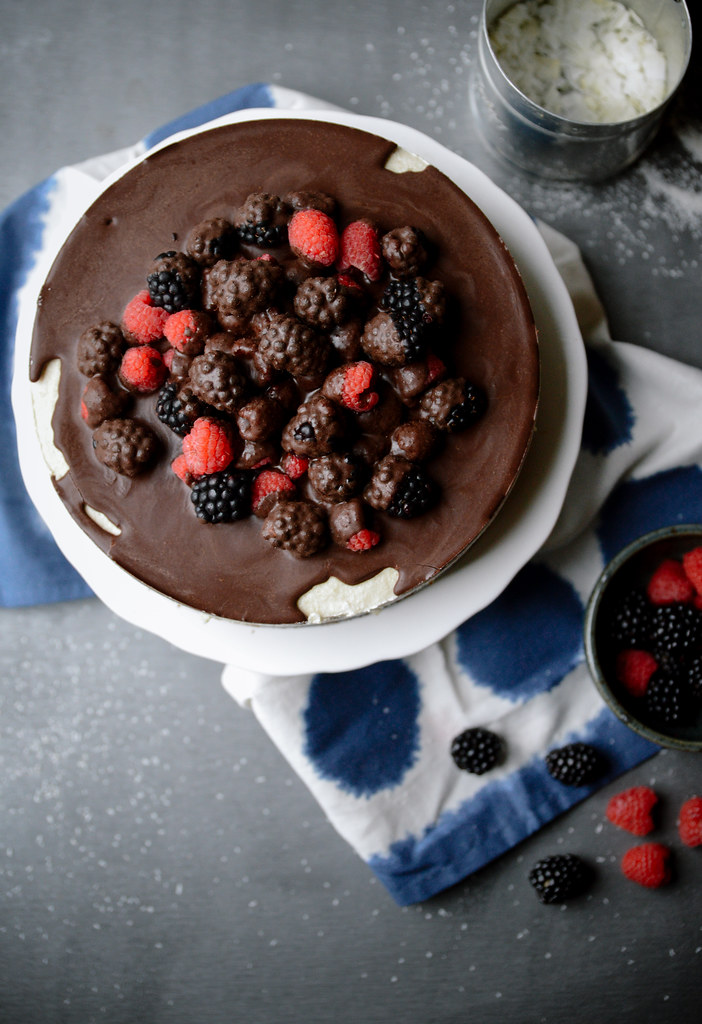
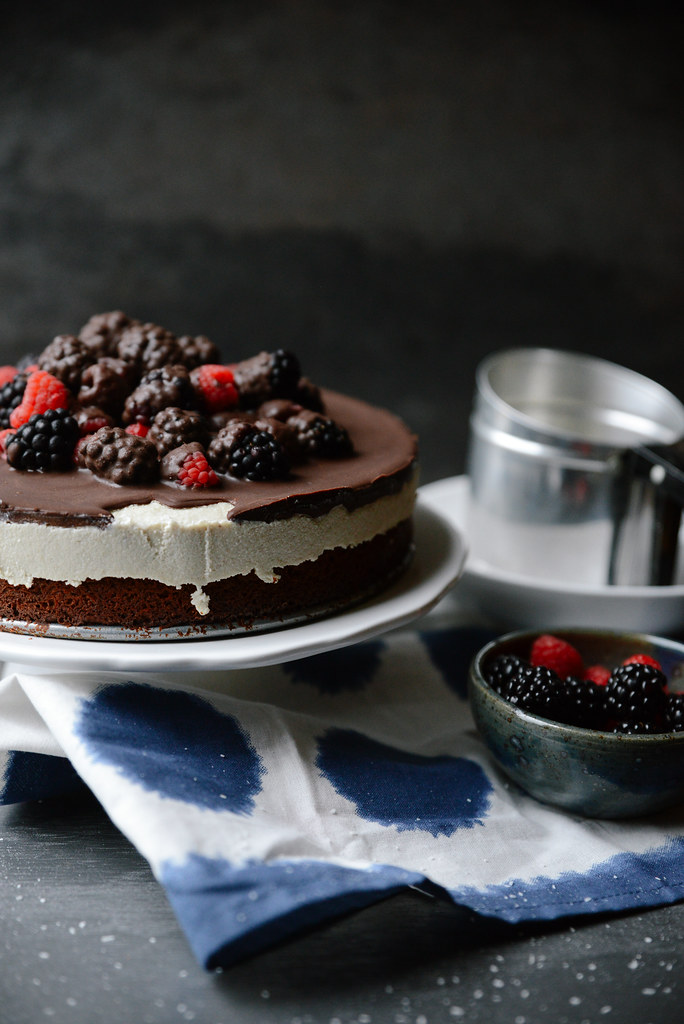
Paleo Vanilla Cashew Cake + Chocolate Berry Ganache

DSC_1887
DSC_1893
DSC_1888

In honor of the elections, which thankfully are coming to a close, we decided to celebrate in our own patriotic way. I managed to sneak in a few red, white and blue treats (organic cheddar cheese, strawberries and blueberries) in the kids' lunch boxes today and added a few flags for extra flare. All of my children are at an age where they can understand our electoral system, at least to a degree, and it is imperative they know how important it is to vote. It is a right we are given in our country and it is a privilege that shouldn't be taken for granted.

So tonight, we celebrate that right with a slice of vanilla cashew cake with a chocolate berry ganache icing. I've introduced cocoa powder (non-gmo, organic, raw) into Jonas' diet and so far we've had no side effects. However, since cocoa powder is an illegal SCD item we only eat it in moderation and I don't use much. If you use a good product, a little bit goes a long way.

VANILLA CASHEW CAKE
yield: 8-10 servings

INGREDIENTS

CRUST:
1 cup almond flour
¼ cup coconut flour
½ tsp. salt
¼ tsp. baking soda
¼ cup coconut oil, melted
½ cup honey
2 tsp. vanilla
1 egg

FILLING:
1.5 cups raw cashews, soaked overnight in water
½ cup full fat coconut milk
½ cup coconut oil, melted
⅔ cup raw honey
2 tsp. vanilla
¼ tsp. Himalayan salt

CHOCOLATE GANACHE
½ cup coconut oil, melted
½ cup cocoa powder (I actually use less than 1/2 cup)
¼ raw honey
¼ cup blackberries
¼ cup raspberries

INSTRUCTIONS
CAKE:

1. Preheat oven to 350 degrees.
2. Grease a round 9-inch spring form pan with coconut oil.
3. Blend the dry ingredients together in a mixer.
4. Add in the wet ingredients and pulse until combined.
6. Pour the batter into the greased spring form pan.
7. Bake in the oven for about 15-20 minutes or until slightly golden.
8. Cool completely on a wire rack.


FILLING:
1. Drain the soaked cashews.
2. Combine the cashews with the other ingredients in a mixer and blend until smooth.
3. Pour the cashew mixture over the cake and freeze for 3-4 hours.

ICING:
1. Combine the coconut oil, cocoa powder and honey and whisk together.
2. Once the cake has frozen, top with berries and drizzle with the chocolate ganache.
3. Freeze for 1-2 hours.
4. Allow to thaw for 10 minutes before serving.

Bon Appétit!

**Remember, cocoa powder is not allowed on the SCD diet. We have recently introduced it after being on the diet for slightly over a year. If you are strictly following SCD omit the chocolate ganache and sift coconut flakes and dried strawberries over the cake.
SITE DESIGNED BY PRETTYWILDTHINGS